Showing posts with label easter. Show all posts
Wednesday, March 21, 2018
Friday, April 18, 2014
Late Night Crafting and a bit of Easter Decor
Kids are in bed, husband's at a meeting, two nights before Easter, what better to do than some late night crafting! I made this little burlap banner tonight with some burlap scraps, ribbon, letter stencils, white paint and hot glue. {Inspiration from here.}
I thought I'd share it with you and show a few pics of our Easter decor before the holiday is over! Just some super simple quick pictures....
I got this chalkboard idea {from Dear Lillie Blog}
Here is our Easter tree that the kids decorate. As I took this picture I thought it looked more like a "minimalist Easter tree", kinda boring. It needs the grass and village all around it... maybe when the kids are older.
{The coffee table tray} filled with kids Easter books and my tulips from Hobby Lobby.
And I just couldn't resist this cute shot of our Velveteen Rabbit who keeps{ our comfy chair }cozy.
We are headed to an Easter Egg hunt tomorrow morning! Watch out for that crazy bunny! Have a very Happy Easter!
Thursday, March 6, 2014
Green Dyed Hard Eggs {Using stuff you already have in your pantry}
This week at the elementary school is Dr Suess Reading Week so for today the PTO wanted Green Eggs for all the kids because, you know: "Green Eggs and Ham" by Dr Seuss.
It's too early to get the Easter stuff out and I didn't want to spend any money on egg kits at the store which is the only way I've ever dyed eggs. So I tried this method and now I'm blogging about it so that I remember that it works! And it's easy to do even if you need to do several dozen at once.
I started by bringing 2 dozen eggs covered with water to a boil, then letting them sit, covered, for 20 minutes. Then I put them in a bowl of ice water until they were cool. I then took the same pot of water and brought it to a boil again adding about 4 tablespoons of vinegar (I just eyeballed it) and about 20 drops of green food dye. After it was brought to a boil I took it off the heat and I put the eggs back in the pot to sit for 5 minutes. My directions said they just needed to sit in the dye for 5 minutes so I checked them but wondered if they sat for another 5 minutes if they would turn a deeper green. So they sat another 5 minutes but when I pulled them out I don't think they were any darker, so I think 5 minutes is sufficient. Then I just put them back in their crates, ready for school. Easy peasy.
"...I will eat them here and there.
Say! I will eat them ANYWHERE!
I do so like
green eggs and ham!
Thank you!
Thank you,
Sam-I-am!"
Saturday, April 7, 2012
Easter Decor 2012 {part 2}
Welcome back!
Moving on through the living room is my awesome Pottery Barn mantle shelf that I got at a garage sale for 5 bucks!!! I've had this for 2 years and I finally got to hang it. I had originally bought it to go in baby boy's room, but now that I have no fireplace = no mantle, we hung our own! This I just threw together with the decorations. I wish I had a cute boxwood garland or something but I just threw up the rest of my Goodwill nests instead and we'll call it good. I poured a bunch of pale colored plastic eggs I had on hand into one of my glass hurricanes and finally quickly painted my PB look-alike terra cotta bunny which I blogged about earlier this week. The little chickies are vintage and were passed down to me.
Moving onto the kitchen is my china hutch. I have a plate for each holiday that I display. And here is also my deal of the month with my Pottery Barn Kids Easter glitter garland that just came in the mail - $3.75 total including shipping and tax! Go get yourself one if there's any left! I really wanted to make one myself (it would be so easy but time consuming with tracing shapes, cutting, glittering and sewing) but since I just moved and had no time and it was so cheap, I went ahead and bought that one thing this year.
That's the Easter Decor tour! I hope you enjoyed it and more importantly, enjoy your Easter holiday.
- Rebecca
Friday, April 6, 2012
Easter Decor 2012 {part 1}
Welcome to my new home! Here is a peek inside at my humble little Easter decorations. This year is all about using what I have and trying to throw it together while still unpacking boxes!
At the front door you might recognize my house-warming present to myself at the last home which I showed you how to make here {http://rebeccasroundup.blogspot.com/2011/08/hydrangea-housewarming-wreath-from.html?m=0}.
I'm still keeping up with my homemade Welcome Sign by switching out the ribbons each month which I blogged about here {http://rebeccasroundup.blogspot.com/2012/01/welcome-to-2012-no-cost-welcome-sign.html?m=0}
The vinyl tile was made by my lovely SIL with an entire set of cute tiles for the year. I'm excited to finally have the perfect place to display it on the entry console table. The country bunny and tree were a garage sale steals and the nest and greenery were cheap from Goodwill. A few nights ago I threw together the little egg ornaments using my girls stickers(!), a round paper punch, some ribbon scraps, and tape. {no cost!} My first thought was to buy some tree eggs on ebay but at this late in the game and not wanting to spend money, the wheels turned until I came up with this 'good enough' for now solution.
Across from the front door when you walk in you'll see the piano which I topped with a runner from Ikea and hung my mirror over as a lovely place for seasonal decor. Here I have my favorite garage sale topiaries {http://rebeccasroundup.blogspot.com/2011/05/my-2011-spring-style-setting.html?m=0}, my dollar store bird {http://rebeccasroundup.blogspot.com/2011/06/goodwill-dresser-and-dollar-store-bird.html?m=0}, my spring blocks I made last month {http://rebeccasroundup.blogspot.com/2012/03/spring-blocks-part-two-of-reversible.html?m=0}, and a garale sale Easter egg wreath. I got it last year right after Easter and it's so fun to finally put it up!
Then are my faux tulips I love. They just say Spring to me.
I hope you enjoyed part one of this post! Check back tomorrow to see the rest :)
Labels:
easter,
holiday craft,
home decor,
spring
Thursday, April 5, 2012
Easy Easter "Bunny Trail" Mix
Corn chex, raisins, pretzels, spring m&m's, teddy grahams, and marshmallows. Give kids a bag and let them fill it and mix it up! Yum!
Tuesday, April 3, 2012
Thursday, April 21, 2011
Quick Craft: Recycled Plastic Eggs
I took four extra large plastic Easter eggs....
#1 got some twine hot glued to it...
#2 got some moss hot glued to it...
#'s 3 & 4 got wrapped with pretty ribbon scraps and hot glued with leftover silk flowers...
Can you find the 2 "natural" eggs in my centerpiece?
And I printed up a little quote for the "faux" flower eggs to give as gifts. Here is the word block:
This Easter egg is hollow
like they found the tomb
because He has risen
for me and for you.
Matthew 28:6
Not a bad egg, eh?
I love recycling and making stuff with zero cost!
Labels:
centerpieces,
crafts,
easter,
holiday craft,
popular,
spring
Sunday, April 17, 2011
Happy Easter Decor 2011
This time of year, these are like baskets of flip-flops at the beach: plenty of bunny ears for everyone!
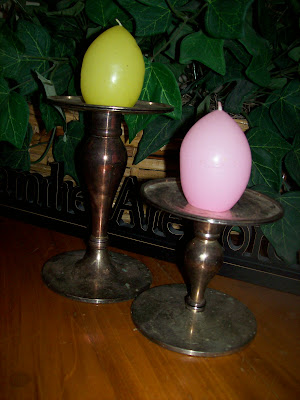
Thrift store egg candles on my silver PB candlesticks. I need to add some moss around them.
A great garage sale find to match all my white dishes in the china hutch.
A Goodwill find: bag o' nests and twigs for $2.
The rabbit is another garage sale find. I love his vintage country look.
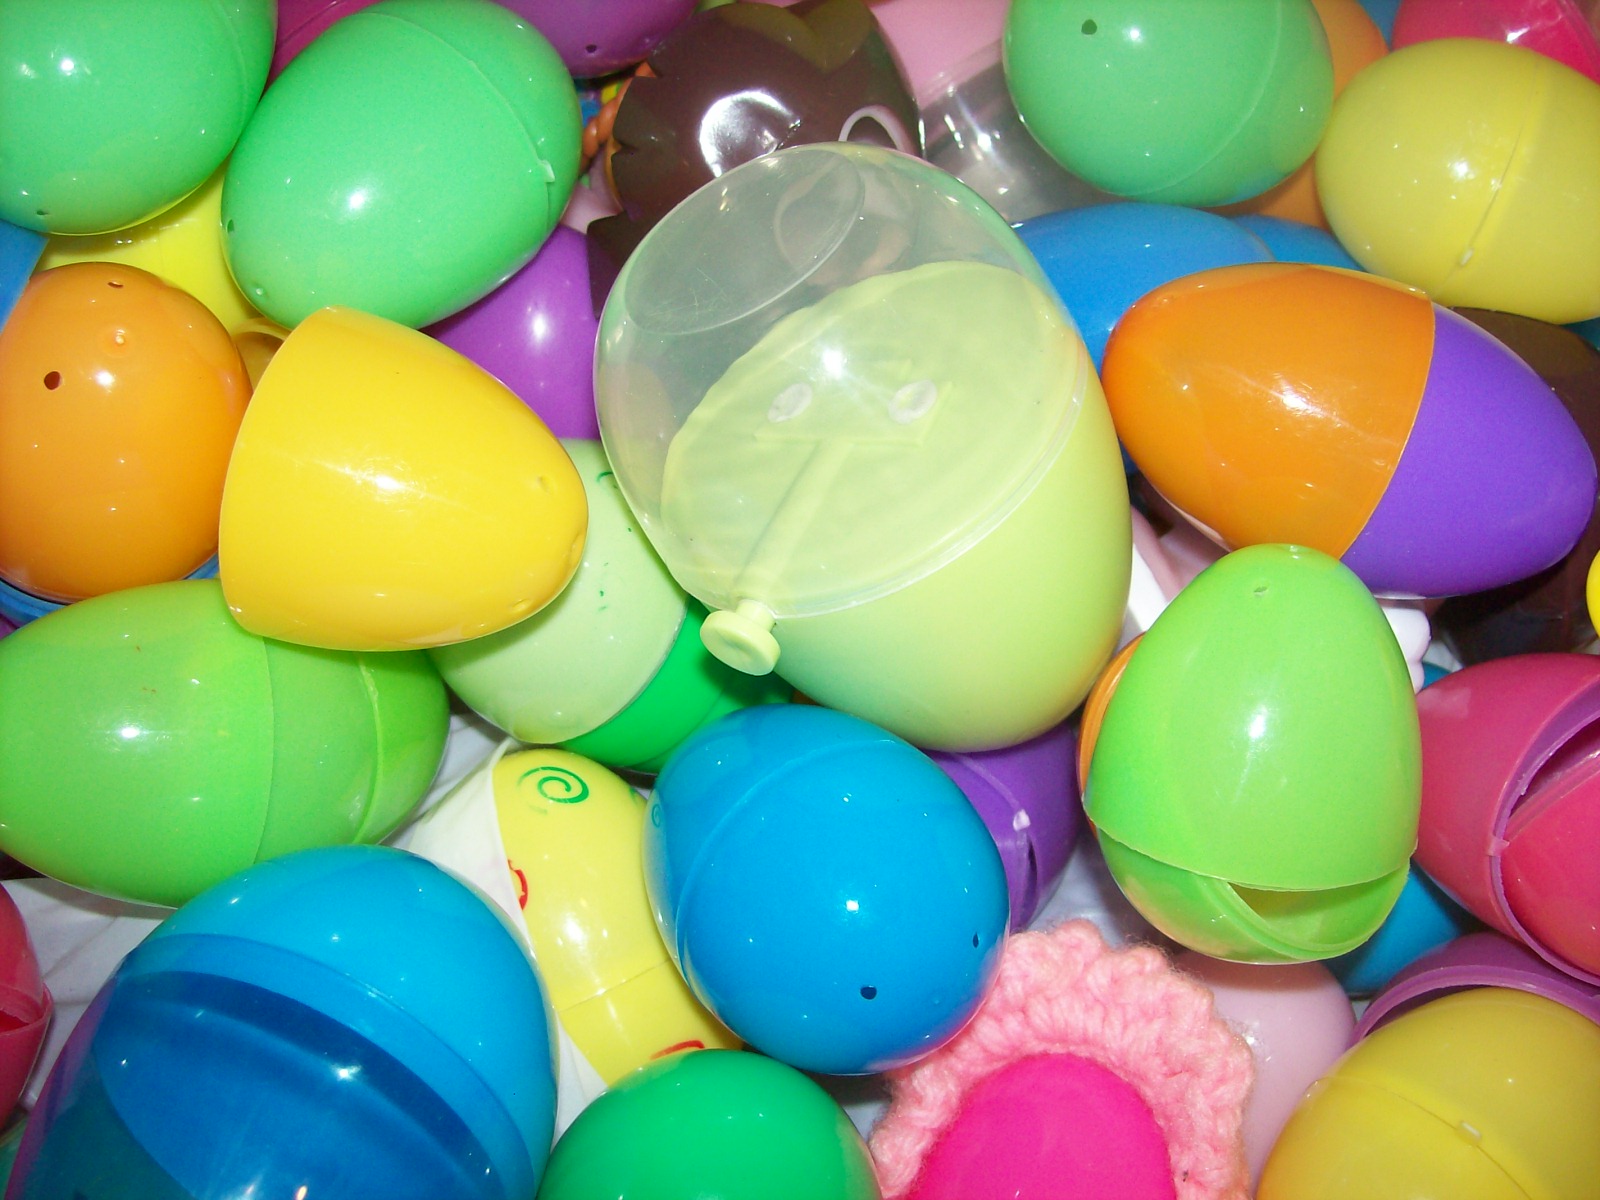
Make sure you go green and recycle all those plastic eggs! They make fun instrument shakers for kids, or glue to a wreath or topiary or just save for next year!
My PBkids look-alike baskets I got with my 40% off at JoAnn. The blue one I got at Target this year in the dollar spot. The best part that I was looking for was the fold down handles for easy stacking and storage.
Another cutie from Target (last year??) and a new tradition< leaving carrots for the Easter bunny!
Love these fresh flowers from an adoring husband :)
Love these vintage chickees!
My tile frame I change out every month.
Just had to take a pic of this pretty spring bird. He sits atop my wire plate holder in my kitchen.
Happy Easter Rebecca's Roundup style!
Subscribe to:
Posts (Atom)

