Thursday, February 20, 2014
Wednesday, February 12, 2014
Quick, Easy and Cheap Kids Valentine's Party Beverage
We're getting ready for Valentine's Day around here and that means cards, candy, and goodies for school parties. Since I have a daughter who is allergic to red food dye and a diabetic husband, we don't do a ton of junk/candy/red punch type stuff so I'm always happy to volunteer to bring a case of water bottles for the kids' classes. Kids think it's cool to have their own water bottles and I'm a firm believer of a good dose of water to flush all that junk out. So I bought two cases of water bottles which were on sale for about $2.67 or something and printed up some "labels."
You can easily do this on an 8 1/2x11" sheet, they fit perfectly around the bottles. I just did black and white; I didn't have time for fancy.
Cut labels in strips, tape them on, and you're good to go!
I hope you have a love- filled Valentine's day and a great President's Day weekend.
Sunday, February 9, 2014
DIY Tray {Repurposed Frame No Cost Project}
To make this tray, I used an old frame that was thick and deep.
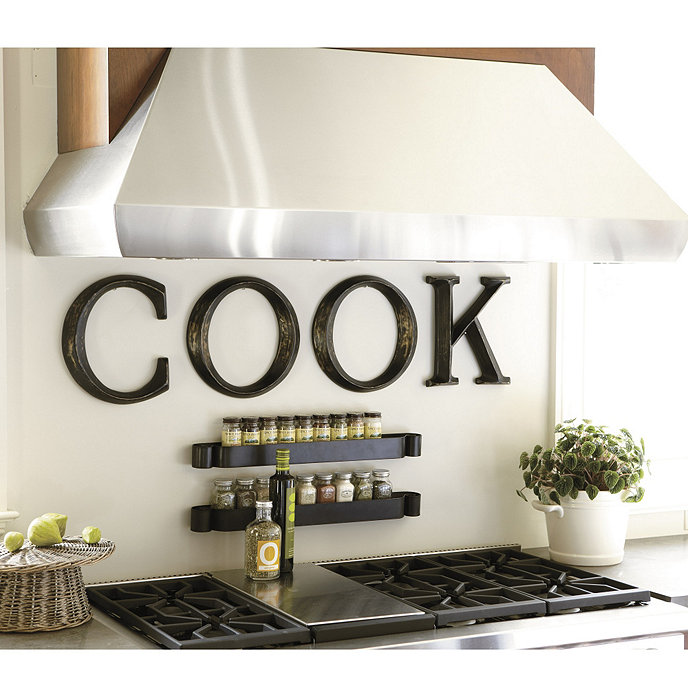
I started by painting it a gray/black because I was going for a finish similar to this, a vintage looking rubbed white I saw in my Ballard designs catalogue on their letter plaques:

I let it dry then painted it white and let that dry. Then I sanded it to get that vintage rubbed look. I must say I was pleasantly surprised at how easy it was and proud of myself for getting the exact "look" I wanted when I have never layered paint like that before! And I just made it up as I went along :)
I then took a cardboard box and using the frame as my template, cut a piece that would fit inside the bottom and covered it with fabric by hot gluing it to the back of the cardboard. Then I put it inside the frame.
I again made used the frame as a template to cut felt for the bottom of the tray so it won't scratch my coffee table. I turned the whole thing over and hot glued the felt to the bottom.
I put a few cute accessories on it and put it on the table and I was done! And I love it! (And it didn't cost a thing!)
Monday, February 3, 2014
A little bit of Valentine's in the house 2014
I was enjoying my house being simple and de-cluttered after Christmas and some major early Spring cleaning when my girls were ready for the Valentine's decorations. Oh alright, here we go :)
(Sorry the pictures are small, if I try to blow them up they get fuzzy.)
Valentine Greetings! On the front door is this wreath I got at Joann years ago for major clearance. It was just the wood hearts and a little thin and it always banged against the door in the wind. So I decided to "beef" it up by simply cutting strips of a piece of burlap scrap I had and hot gluing it on the back in a sort of ruffle pattern. I think it's perfect now!
When you walk in there is a dresser that holds all our media and blankets and I like to put most of the holiday decor here. I made everything you see.
On the coffee table a tray holding a couple Valentine's kids books and a mailbox for surprise cards where I keep some little felt envelopes for each member of the family. The cute Be Mine frame is from my sister in law Karen. It holds little tiles that you can switch out for each holiday.
My latest watercolor "Love One Another." (idea from Jones Design Co.)
And of course my kitchen chalkboard, love this thing!
Have you decorated for Valentine's Day?
Have a great week!
Subscribe to:
Comments (Atom)


