Wednesday, December 16, 2015

Christmas Home Tour 2015

I think this is the most complete tour I've done of this house on the blog. I do it mostly so I can remember, but I hope you enjoy too. Lots of pictures!!!

The weather outside is frightful! We've had more snow since this picture was taken and are supposed to get even more this week and through Christmas. Even though I honestly don't love the snow, I am so grateful that for the most part this winter we have still had sunshine. Even though when we woke up today it was zero degrees!

EXTERIOR


DIY boxwood wreath with red gingham fabric ribbon

LIVING ROOM


Silent/Holy Night Pillow Covers.  Green Canvas Pillow Covers. Black Buffalo Check Pillow Covers. SureFit slipcovers from Target. Plaid Blanket from Ebay.


We have a toddler who likes to break ornaments. Maybe someday I will get to put them on the bottom half of the tree again *sigh*. We bought a lovely real tree this year. Tree skirt from Pottery Barn.


DINING ROOM


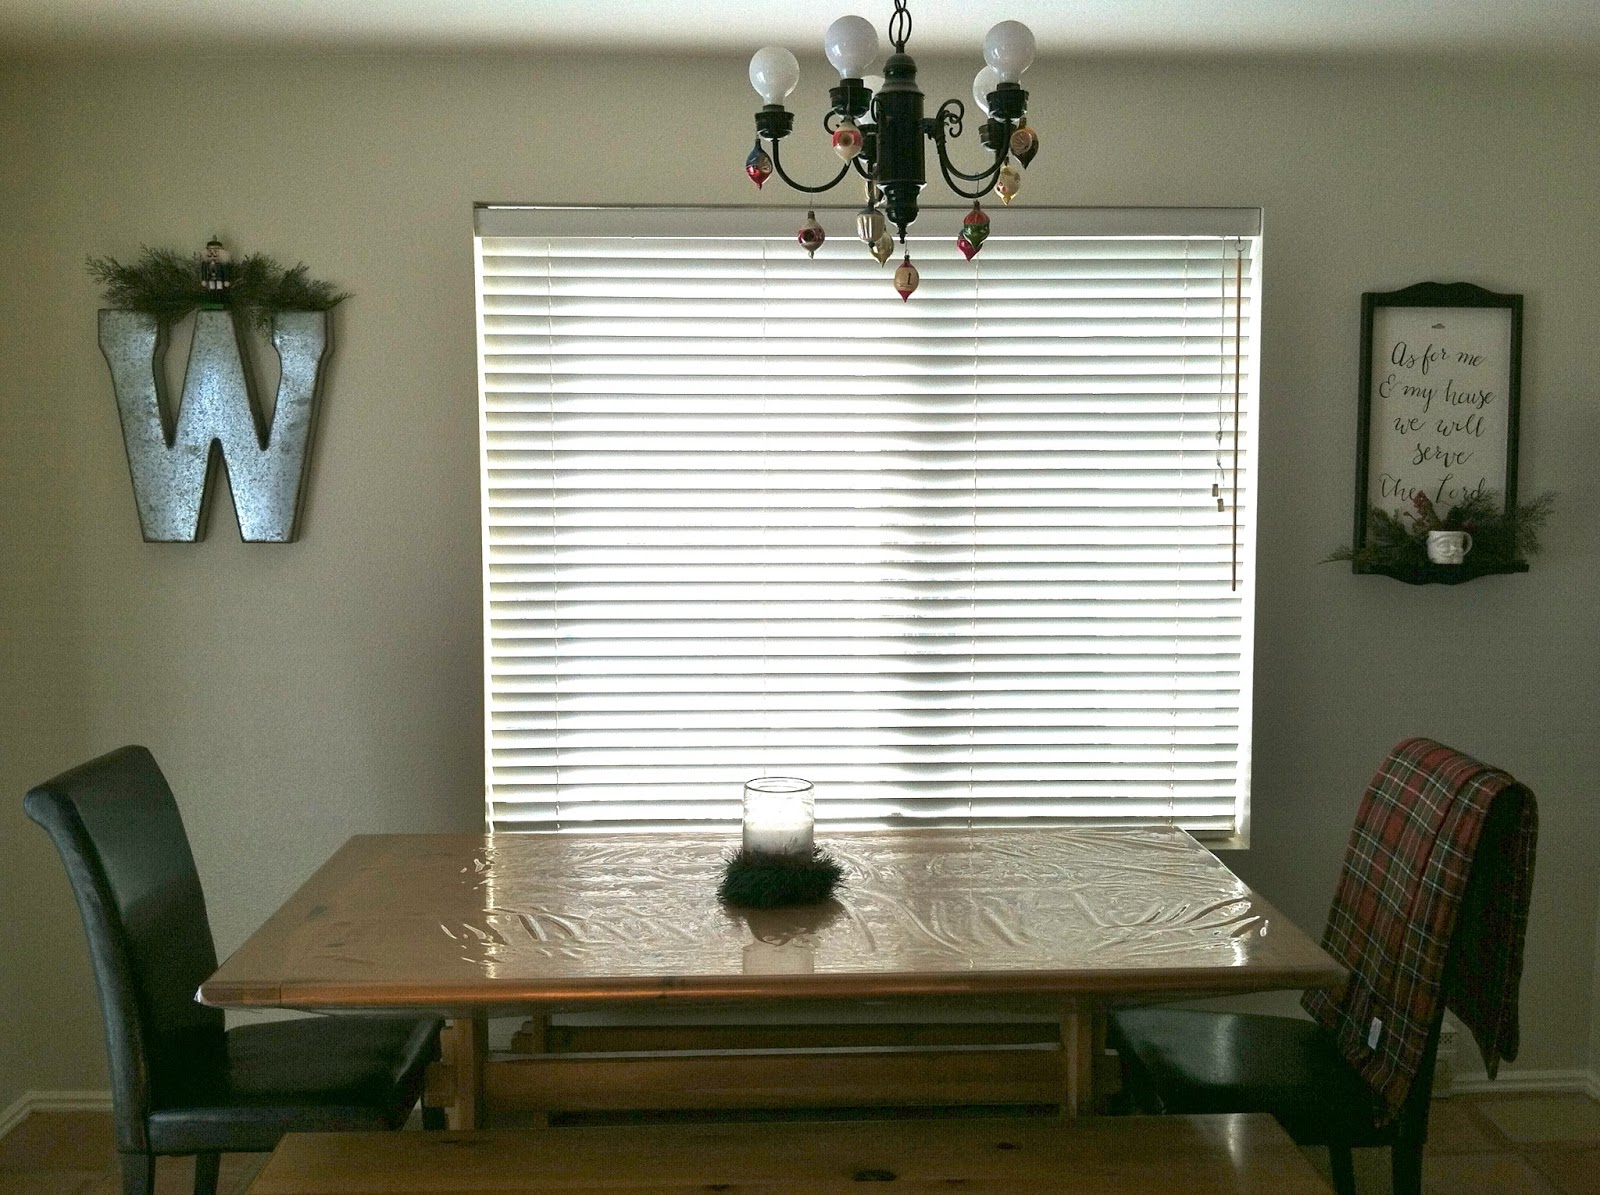
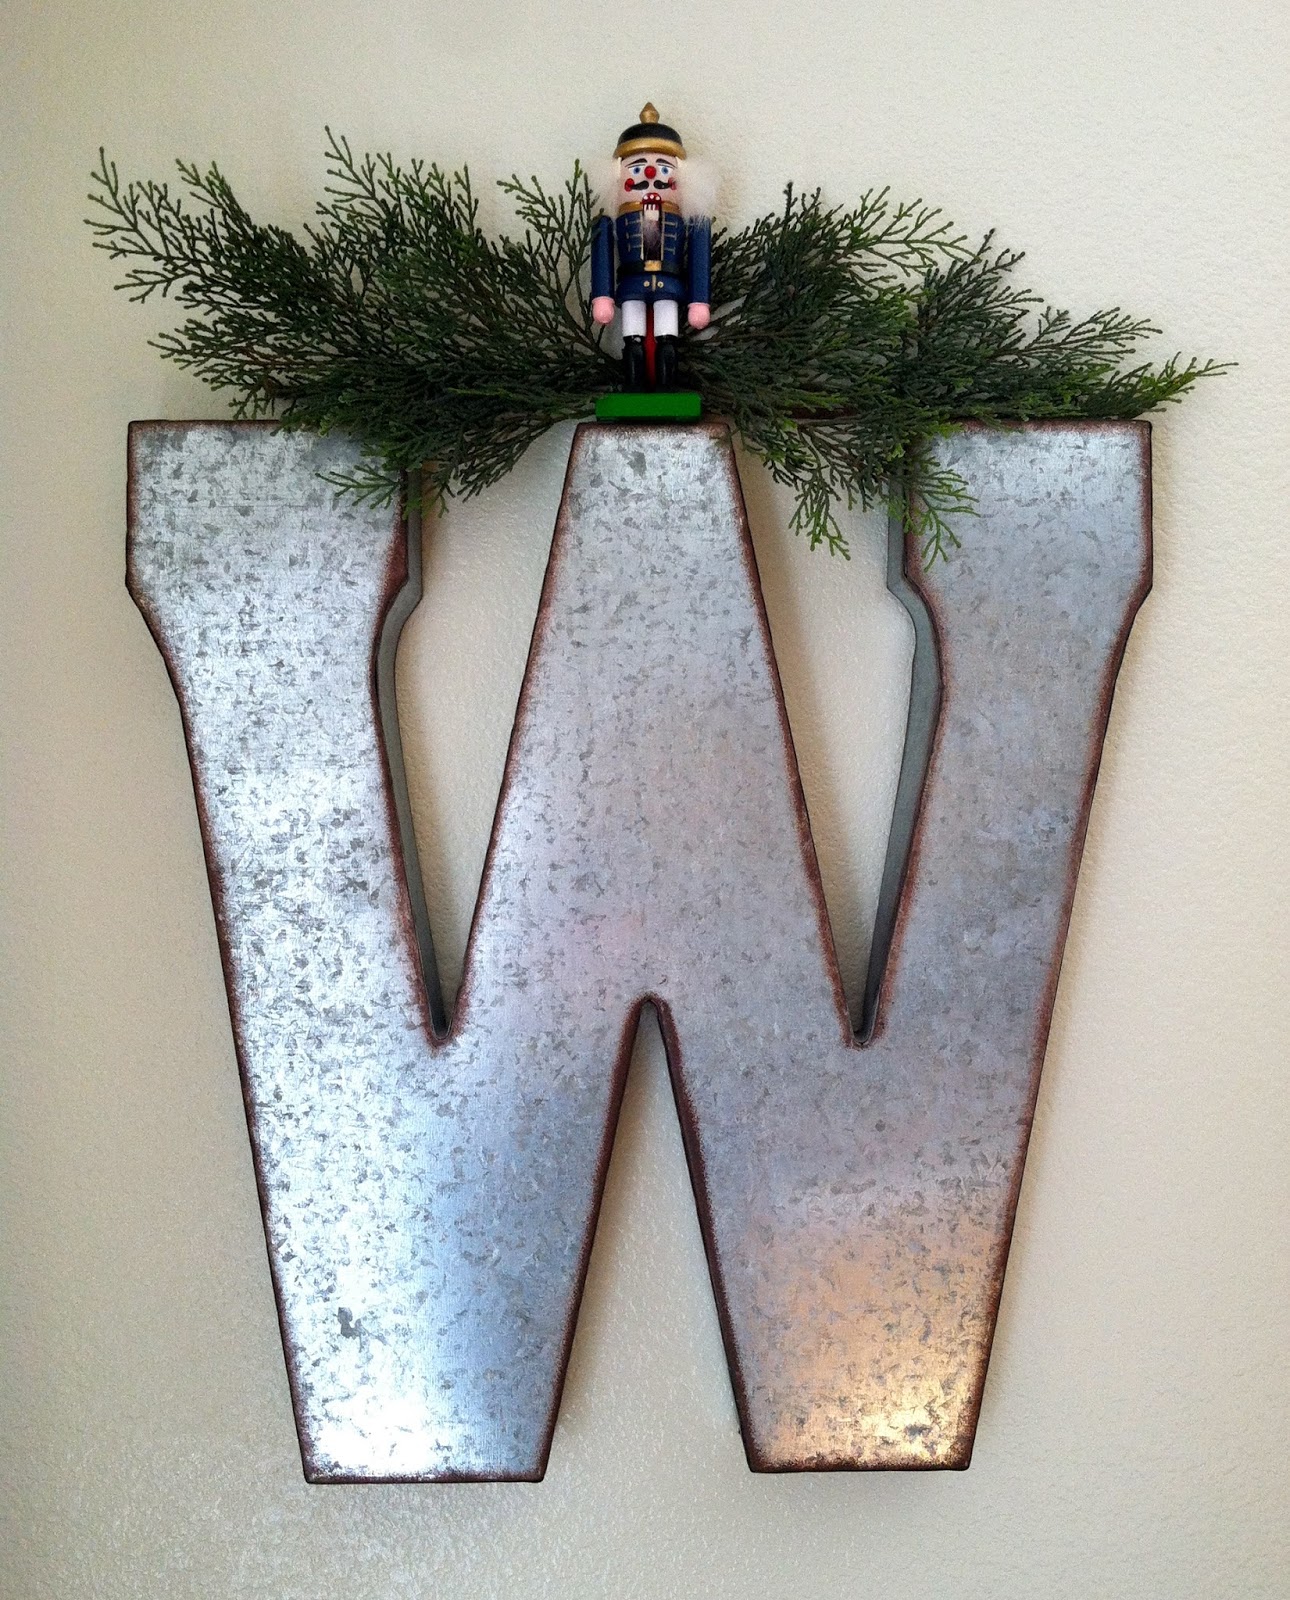
Metal Letter from Hobby Lobby.

Our grandparents' vintage ornaments look extra special hanging on the chandelier.

Plaid tablecloth Better Homes & Gardens from Walmart.


KITCHEN


HALL

LITTLE KIDS ROOM


MASTER BEDROOM

BIG GIRLS ROOM


GUEST ROOM


I hope you enjoyed my Christmas Home Tour. You can see more details for each room by searching this blog. Thanks for stopping by during this most wonderful time of the year!
~Rebecca

linking to: 

Monday, November 30, 2015

Winter Chalkboard & Coffee Filter Garland {Super Quick & Free Project!}


Thanksgiving's over and the kids are asking when we are going to put the Christmas tree up already! I love fall decor but there's no denying I am fighting the inevitable. Not that I don't love that Christmas-sy feeling too, but I'm not quite ready for the tree. The neighbors have put up their lights and it definitely looks more like a winter wonderland outside instead of a fall hayride. So this morning I took less than 5 minutes to make it feel like it's beginning to look a little like Christmas around here. Happy "Cyber Monday" ! I hope you had a wonderful Thanksgiving.


Monday, November 16, 2015

Simple Thanksgiving Decor 2015

Entry Way

Cozy Family Room

Piano Top "Mantle"

Easiest Table Centerpiece Ever Pumpkin And Dining Room

Simple Thanksgiving Chalkboard

Thursday, November 12, 2015

No Sew DIY Tote Bag Makeover: Cute Pockets! (No Cost)

Supplies: Canvas tote bag with pockets, fabric scraps a little bigger than the pockets, iron, ruler, scissors, fabric glue, gluestick.

I started with this tote bag I had lying around and went through my fabric scraps for something that would make cute pockets. I cut the fabric to about 1/2" bigger than the actual pocket.

I ironed the fabric and then folded over each edge to exactly the pocket dimensions and ironed them down.

I used just a cheap gluestick, glueing and then pressing down the fabric, to make sure the under edges would stay down thus making it easier for the next step.

Using fabric glue, I applied to all edges then attached the fabric square on top of the existing pocket, pressing firmly then set a stack of books on top until dry.

And here she is in all her new pocket cuteness!